Speaker Recone Guide
Caution: While we are pleased to provide this information on how to recone woofers, we strongly recommend that you seek professional support for these procedures in order to ensure long term component performance. Using the correct repair process and adhesives is critical.
If you wish to proceed, please follow these steps very carefully, and read the entire document before starting the process.
Supplies and Tools Required:
- Soldering Iron
- Solder
- Sharp utility knife
- Masking Tape
- Double sided tape
- Sharp scraping tool or Chisel
- Two Component Epoxy or Rubber Type glue
- Plastic Shims
- Small weigh
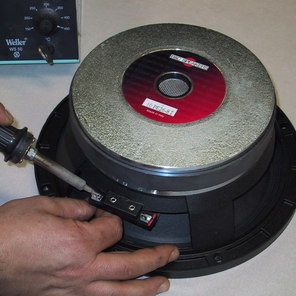
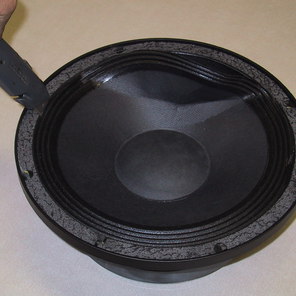
Remove gaskets and unsolder the lead wires from terminals.
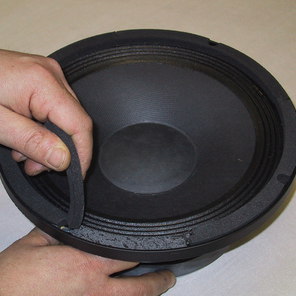
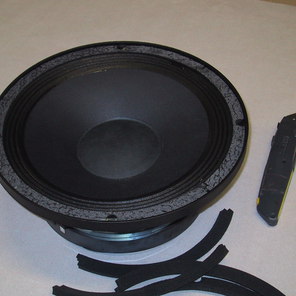

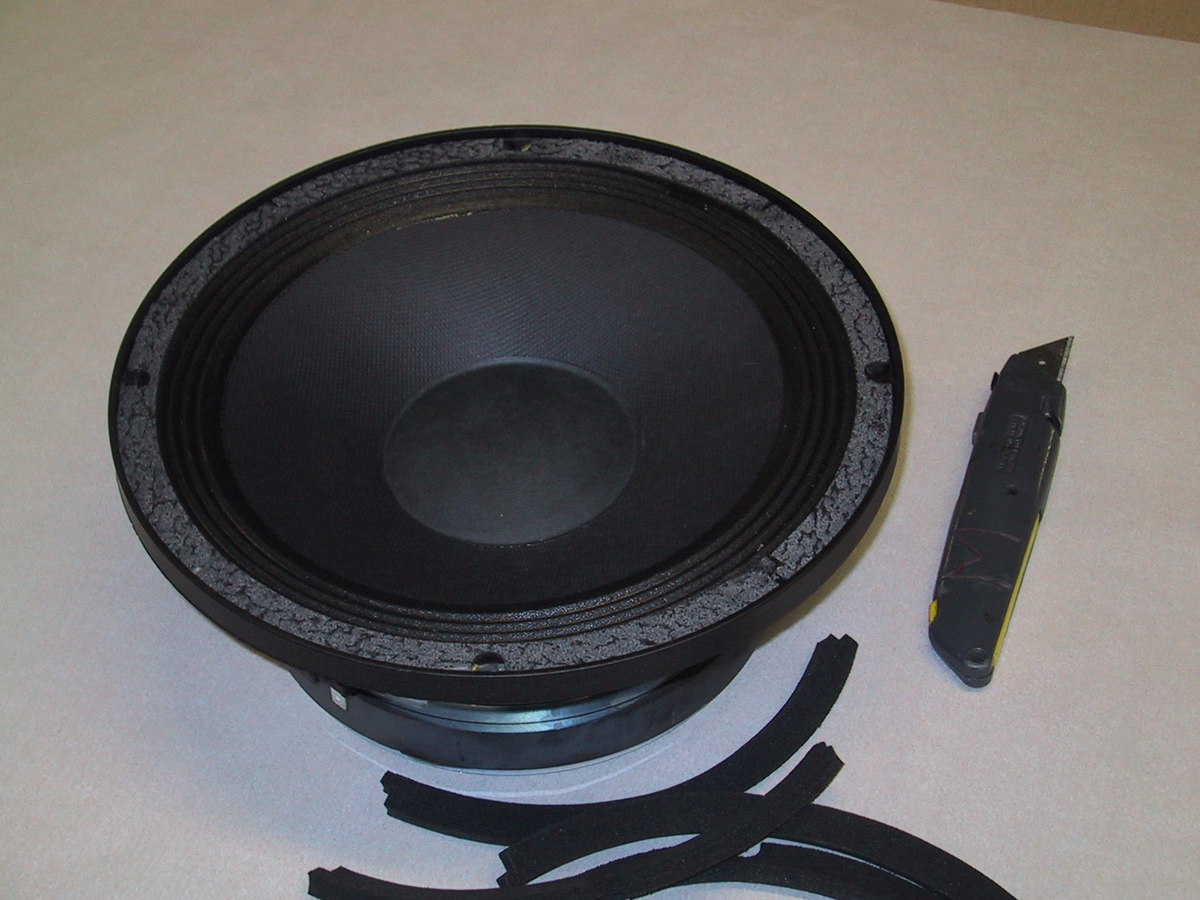

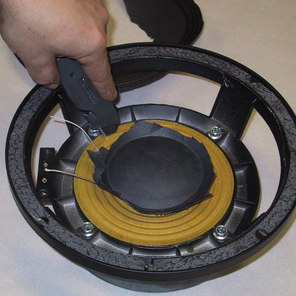
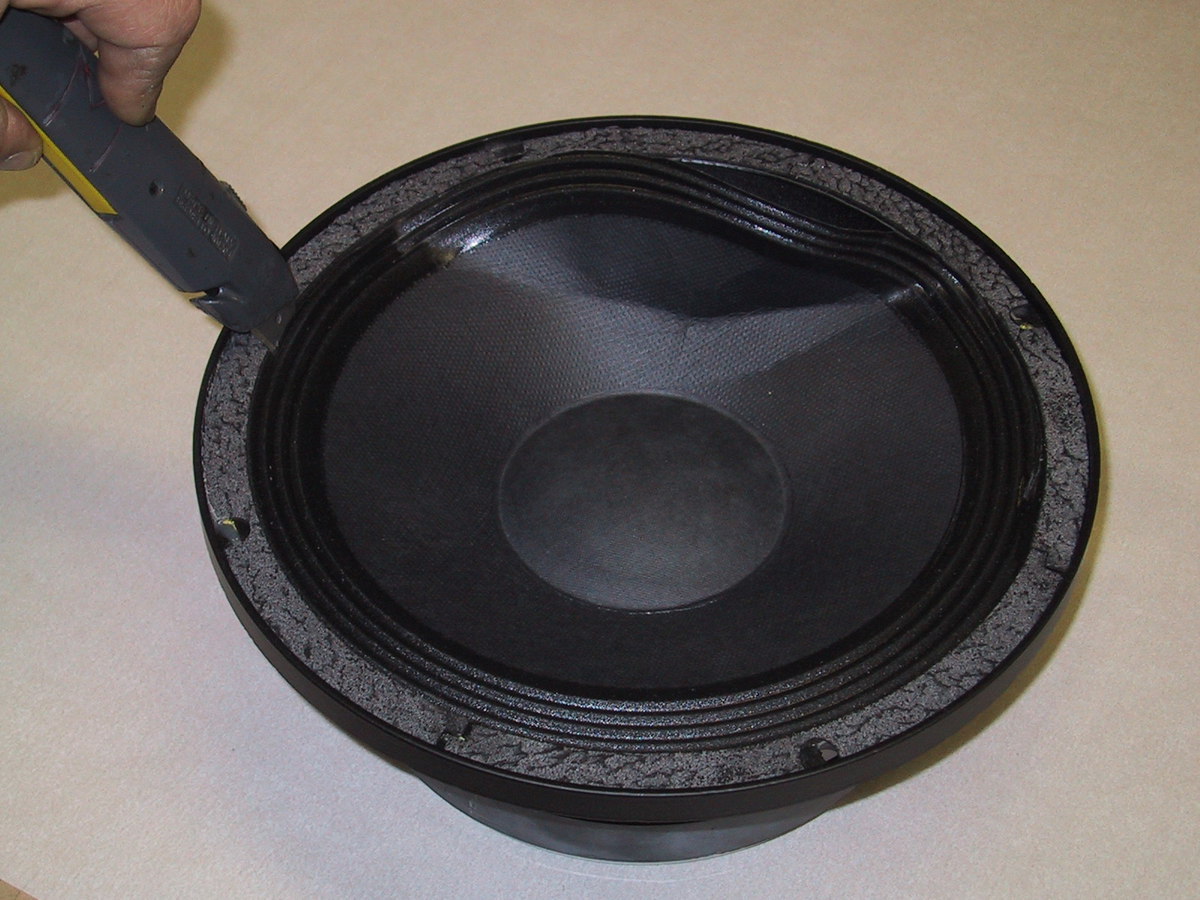
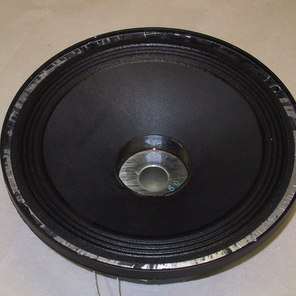
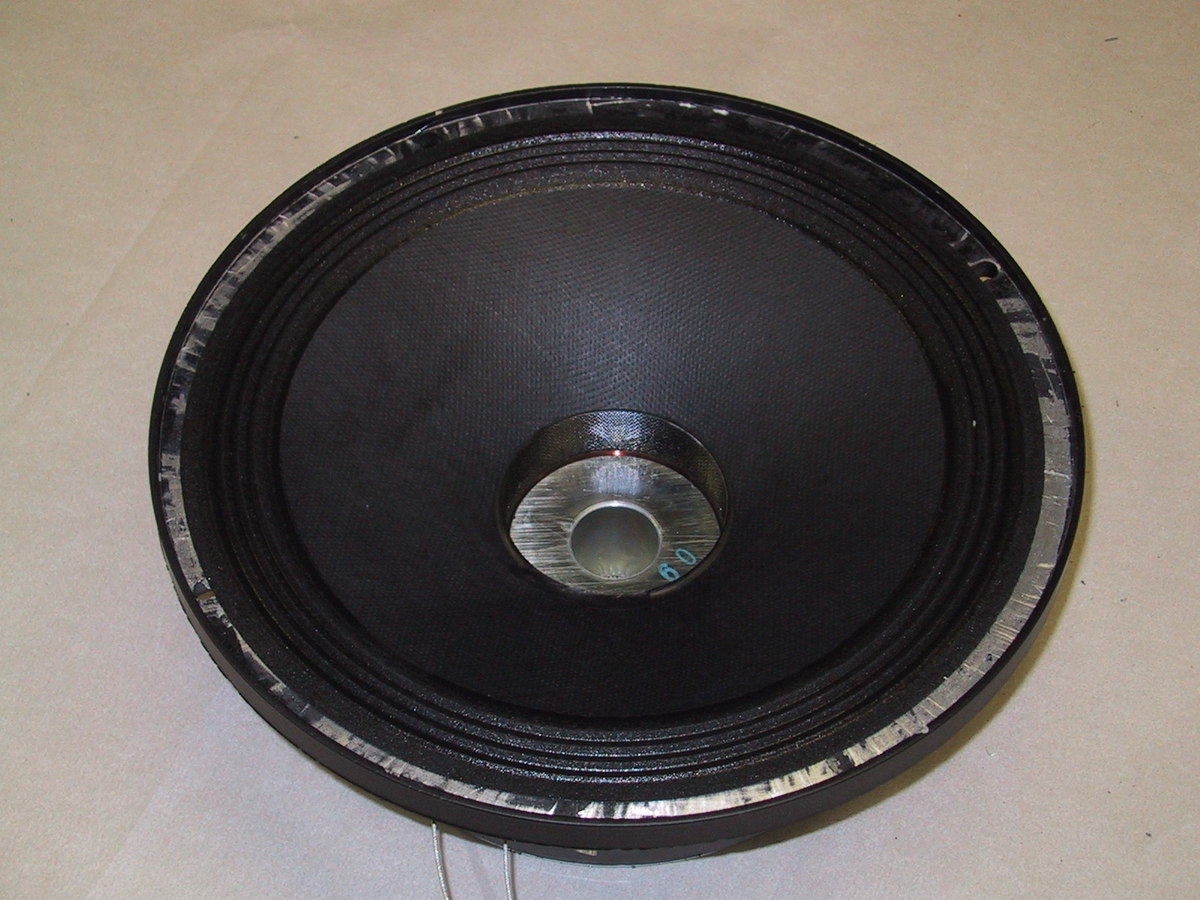
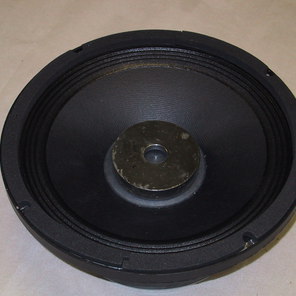
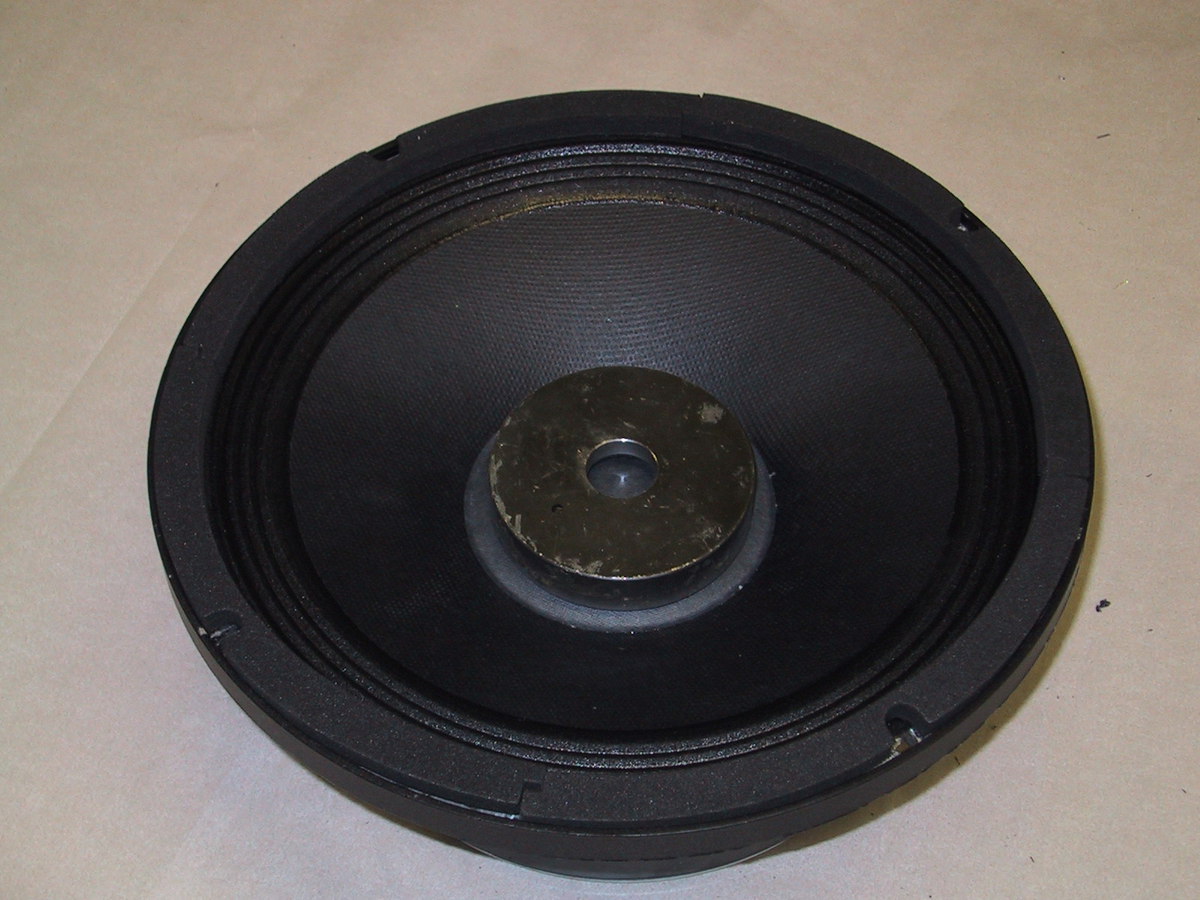
Cut around the surround of cone and the spider and remove the cone.
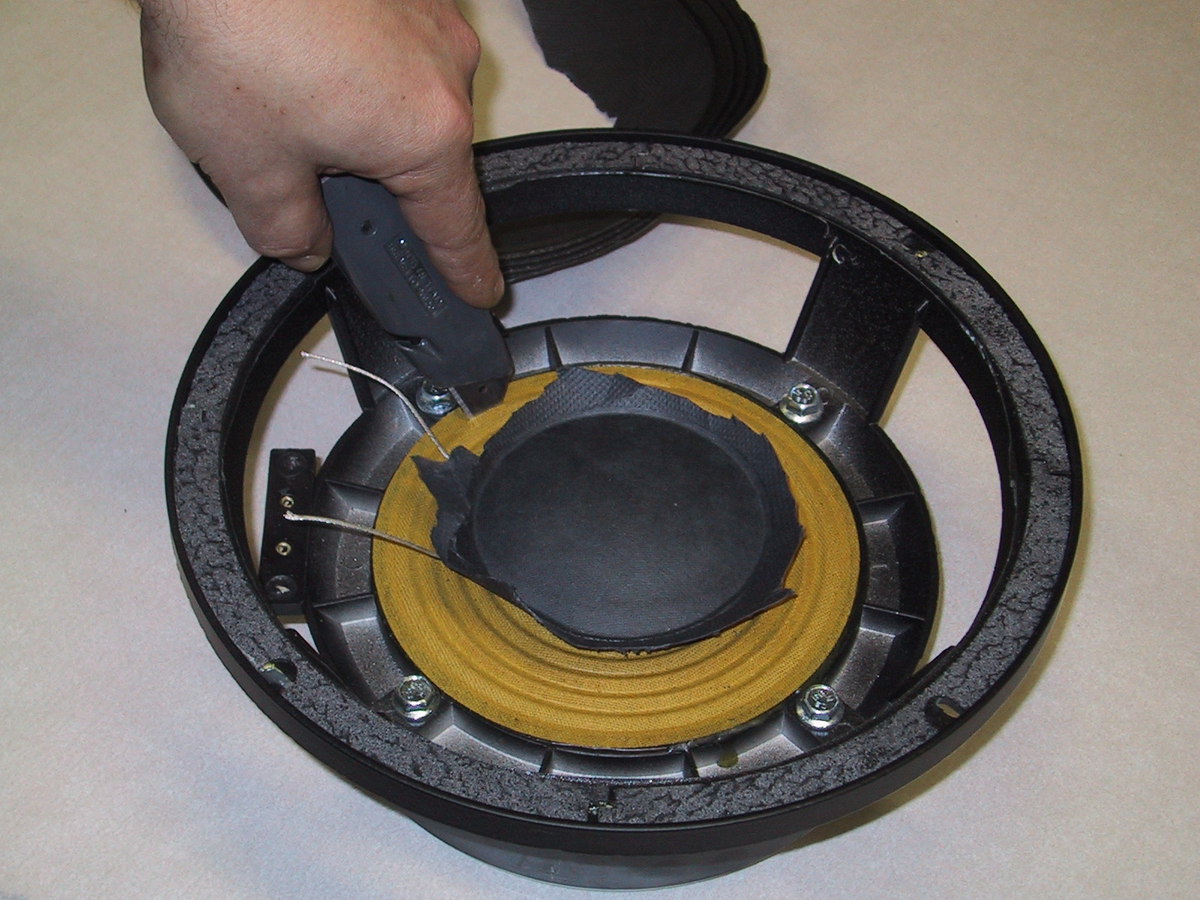
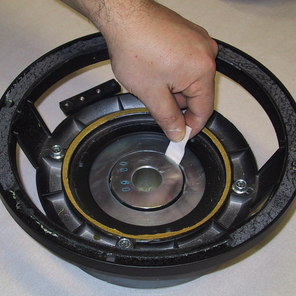
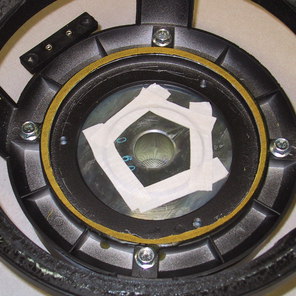
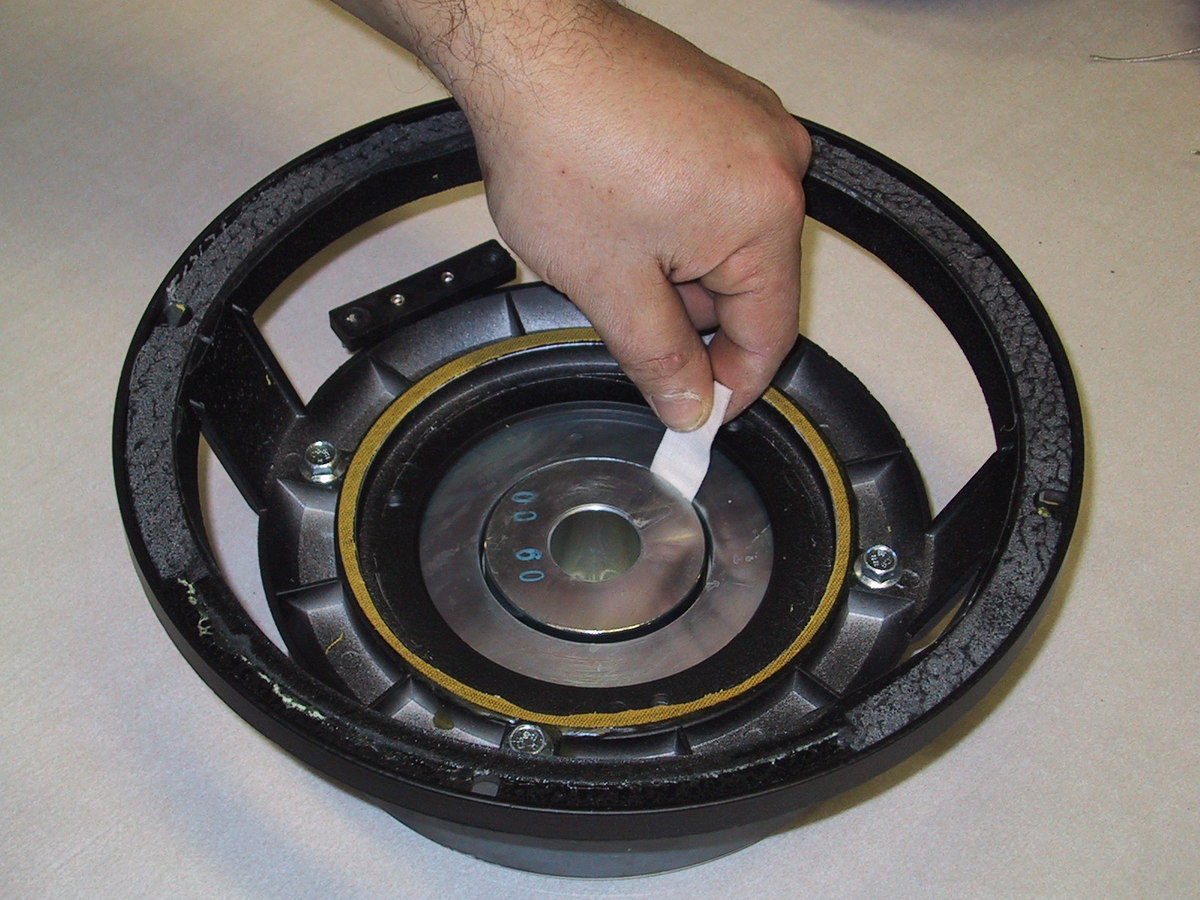
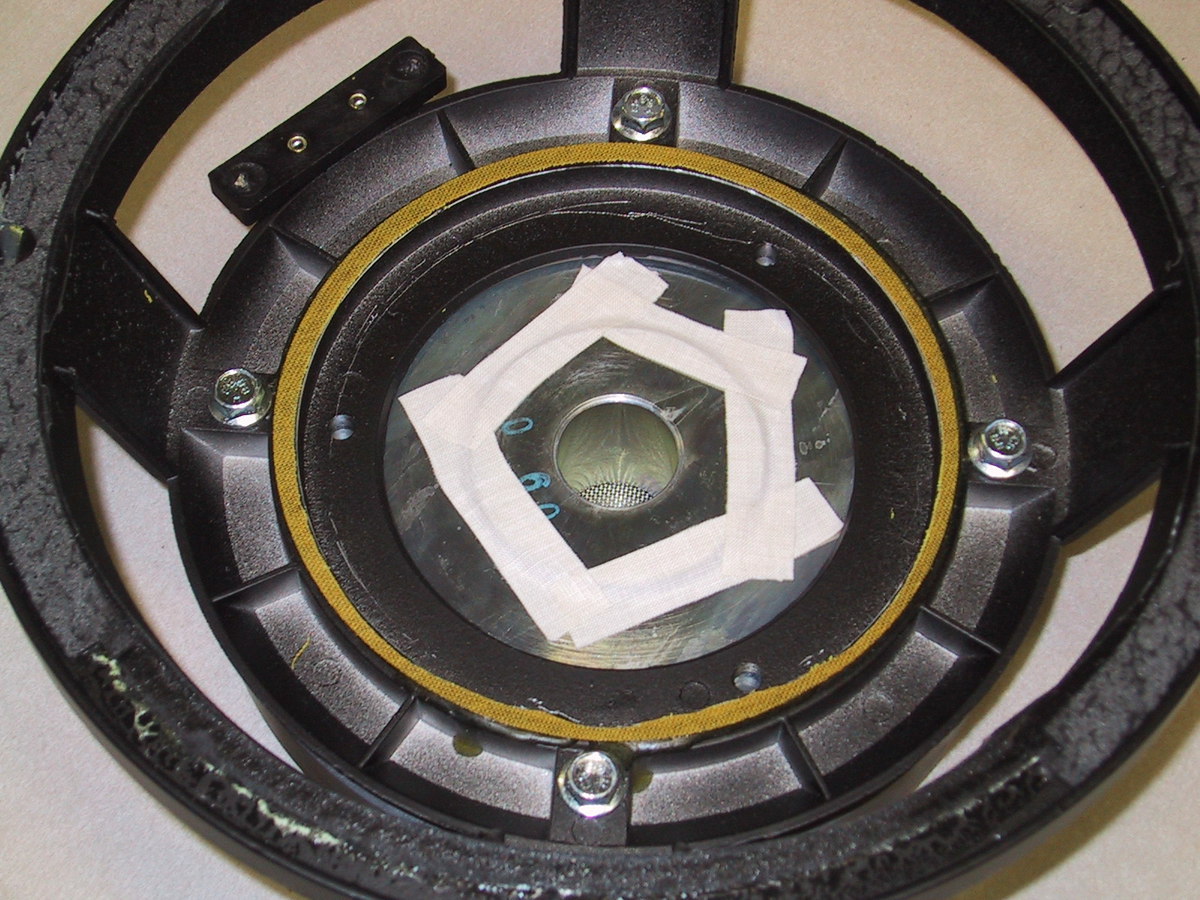
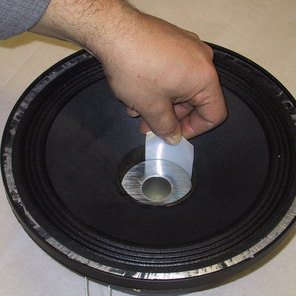
Clean the magnet air gap using double face adhesive tape, then tape over the gap to keep any dirt from entering.
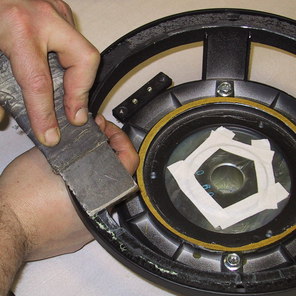
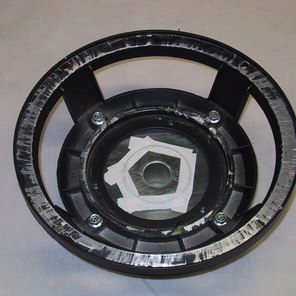
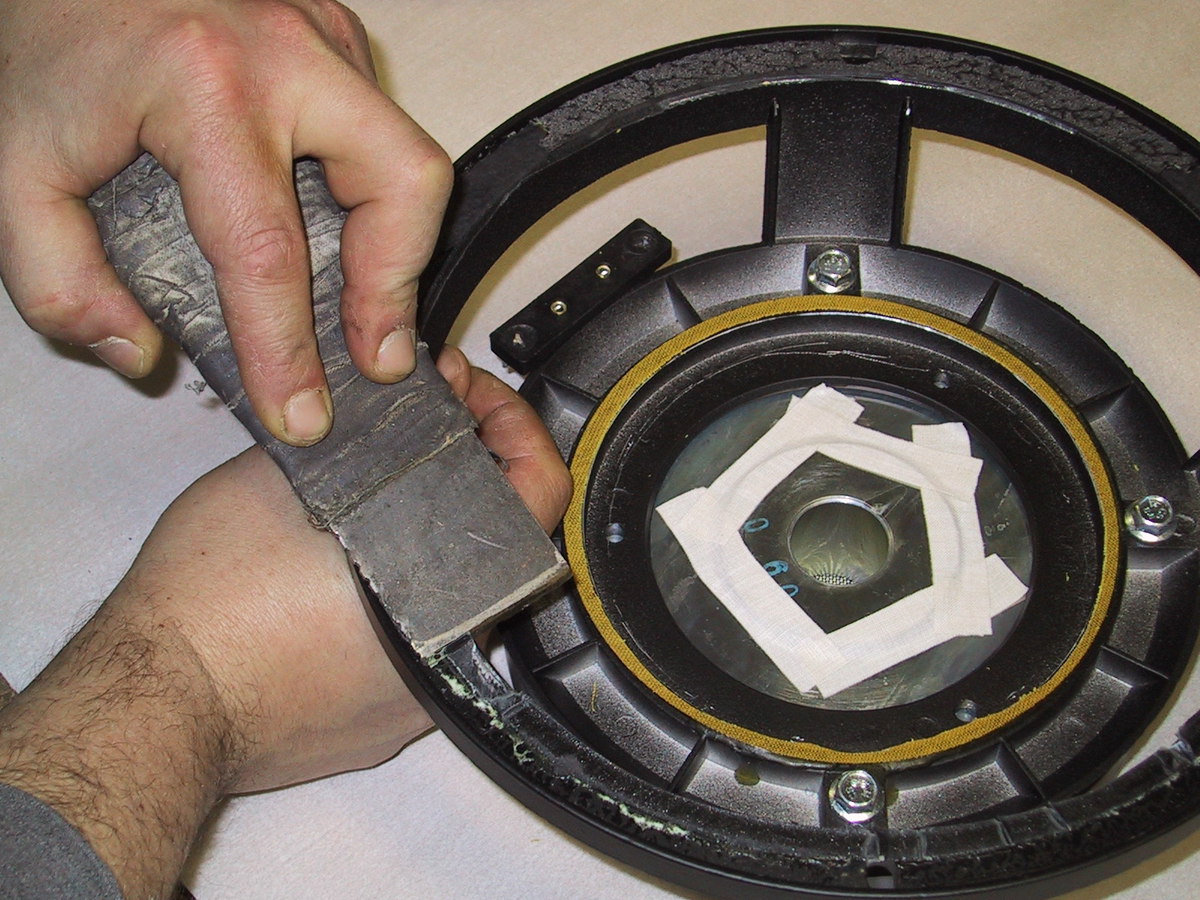
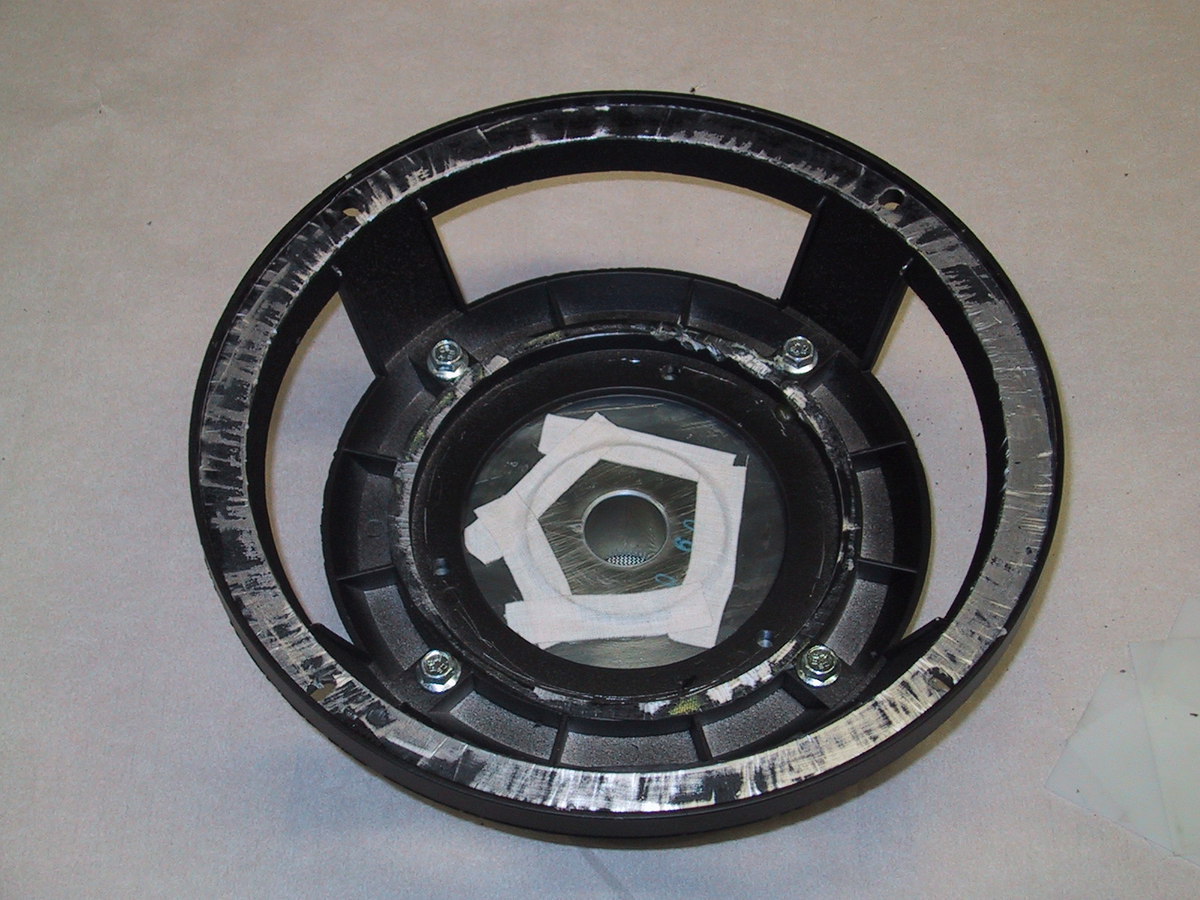
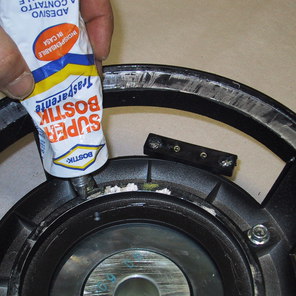
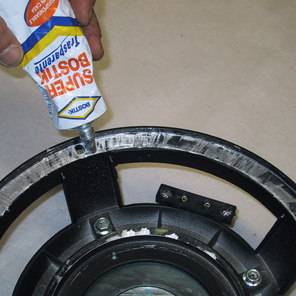
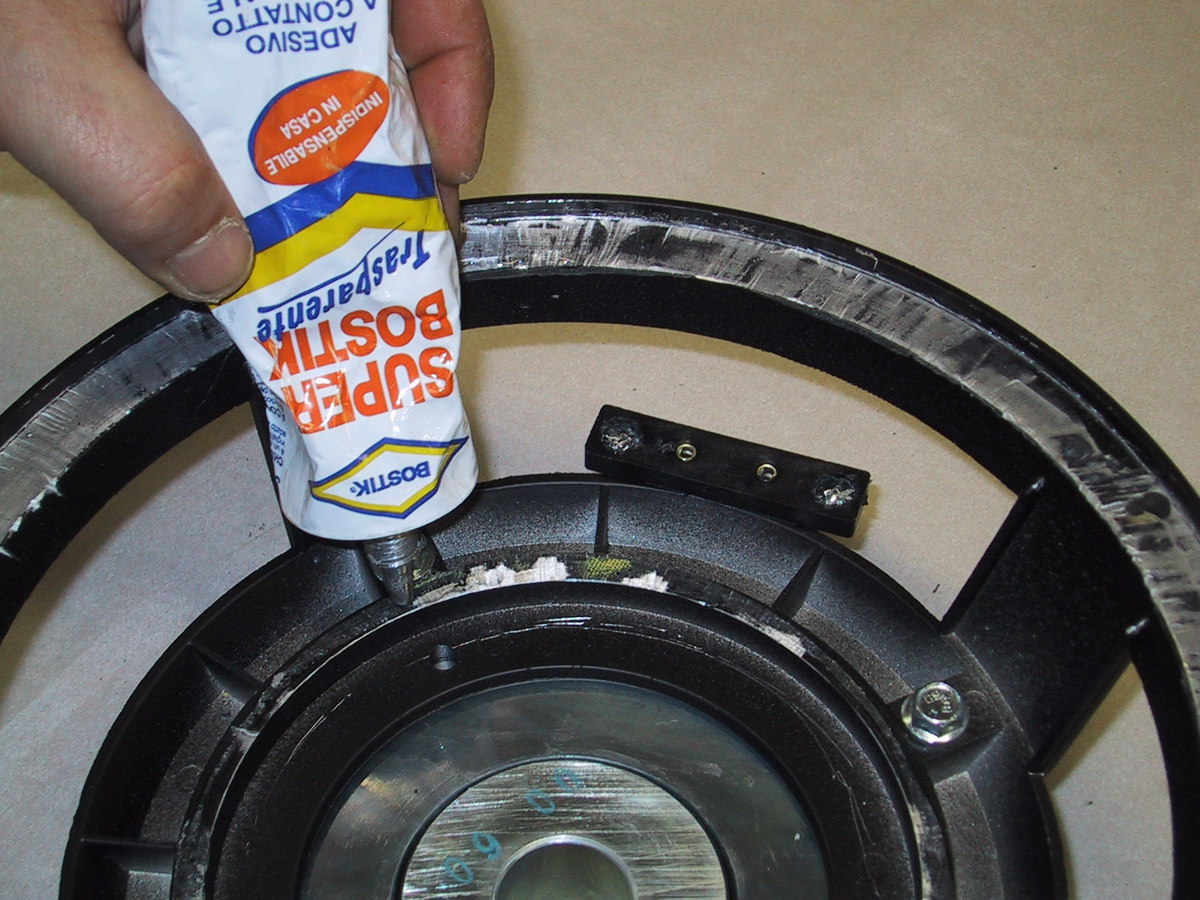
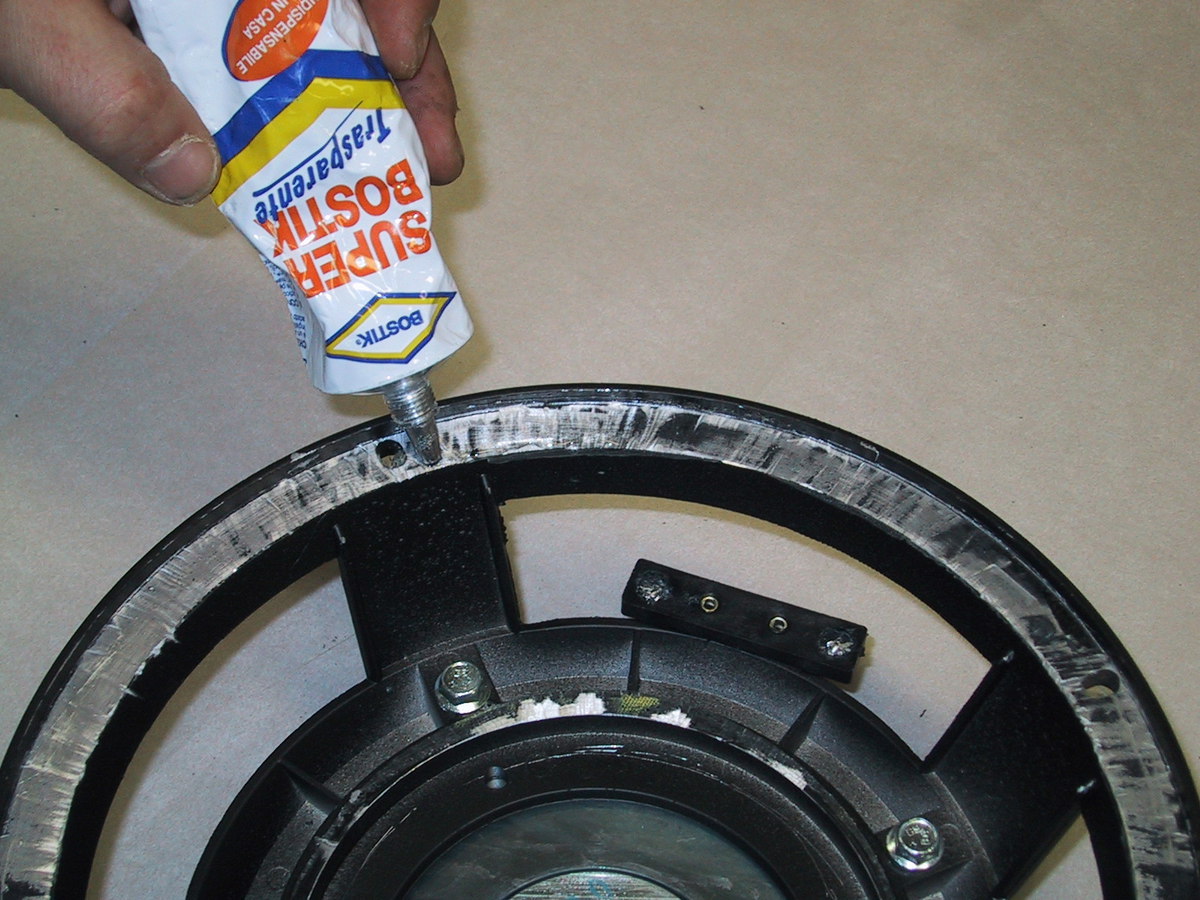
Using a sharp tool, scrape away the glue particles from the chassis, where the surround and the spider were glued.
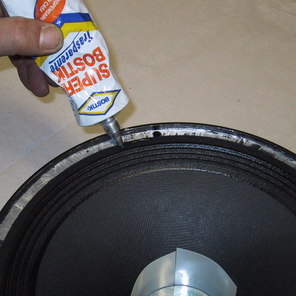
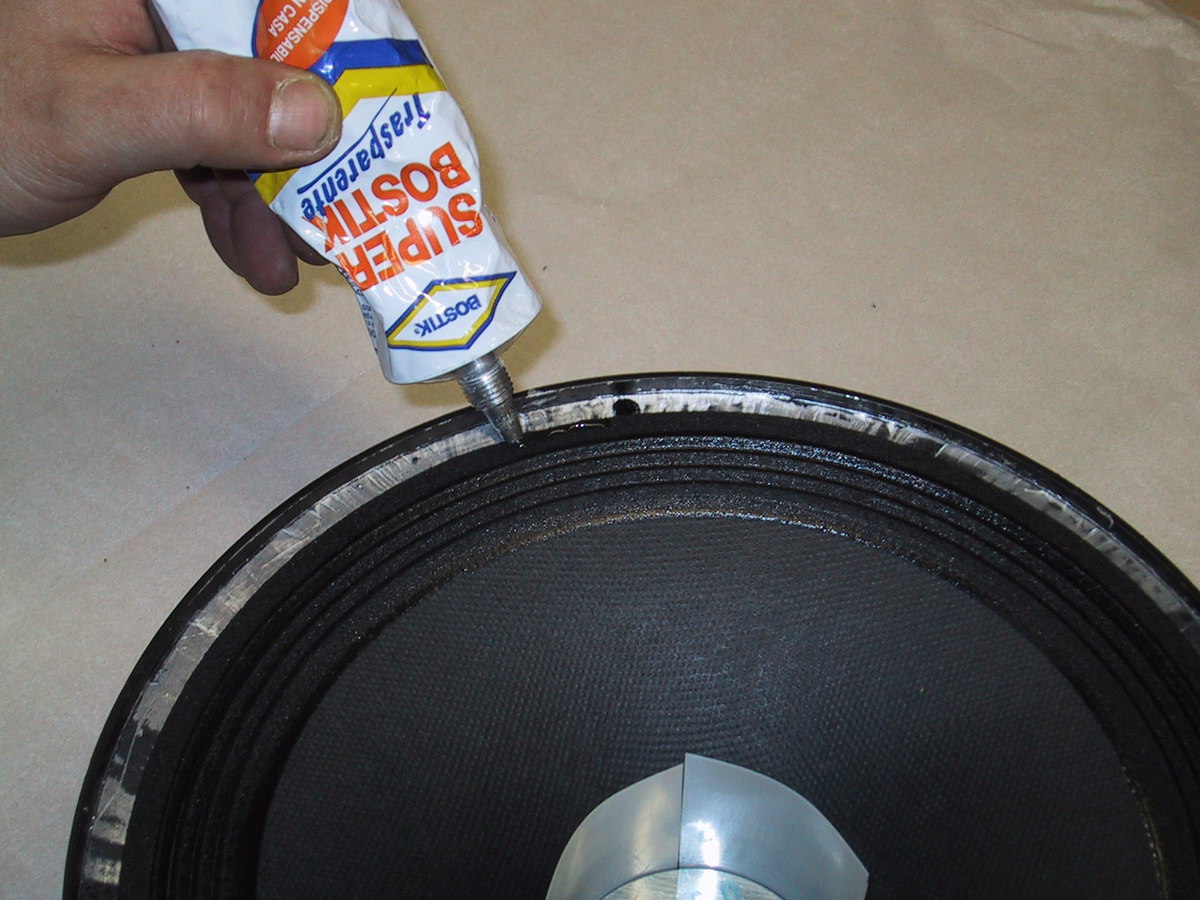
Distribute the glue (either a two-component epoxy or a rubber type) on the cleaned chassis where the surround and the spider fit.
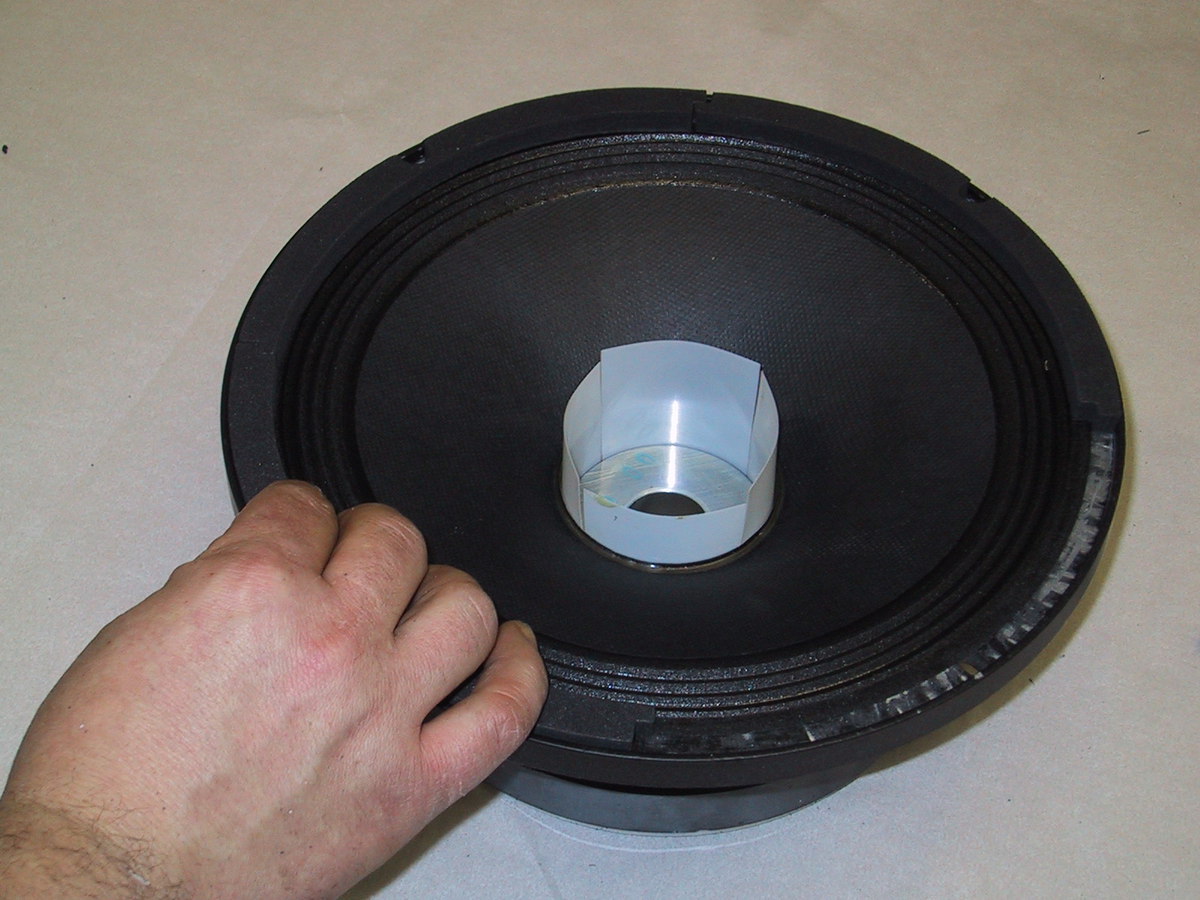
Place the new cone assembly in the chassis, making sure the lead wires are in proximity of terminals.
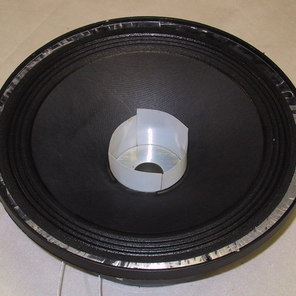
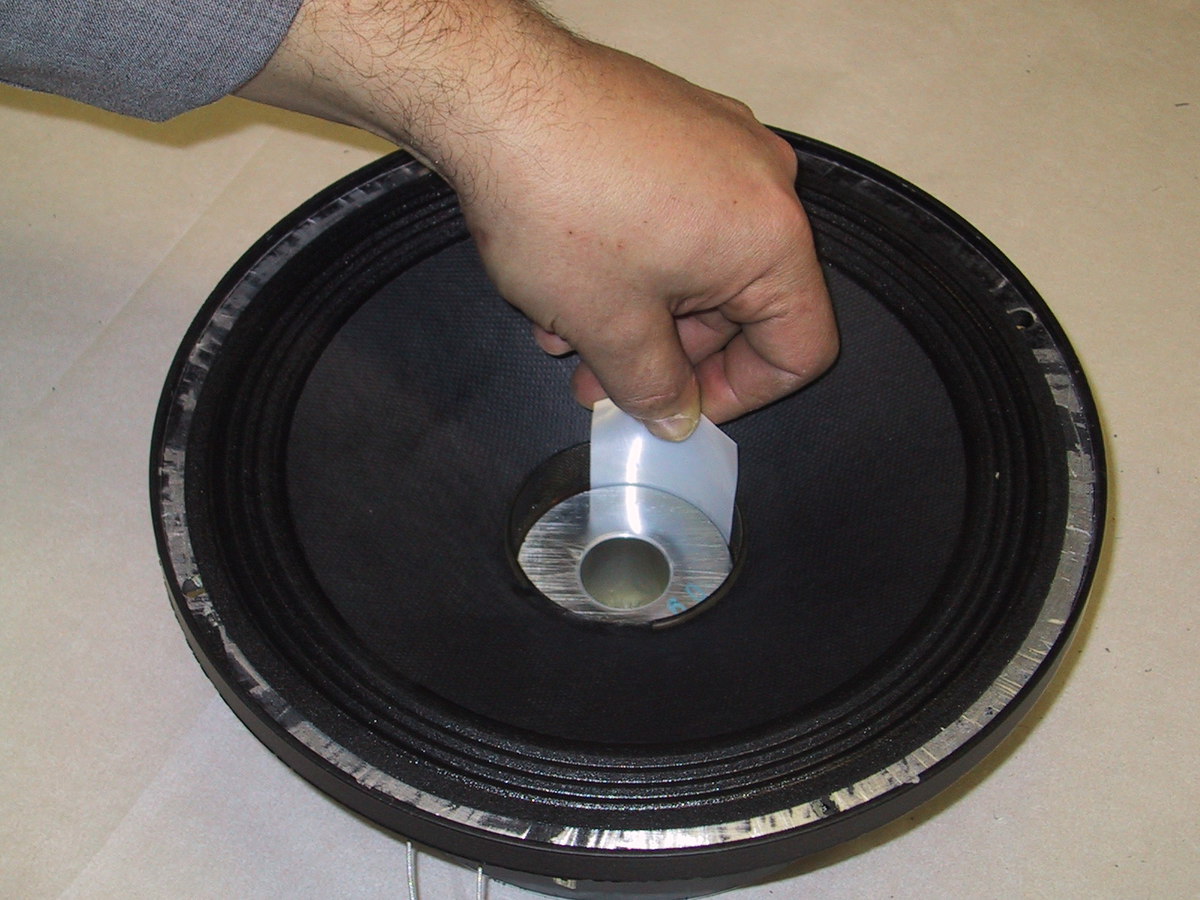
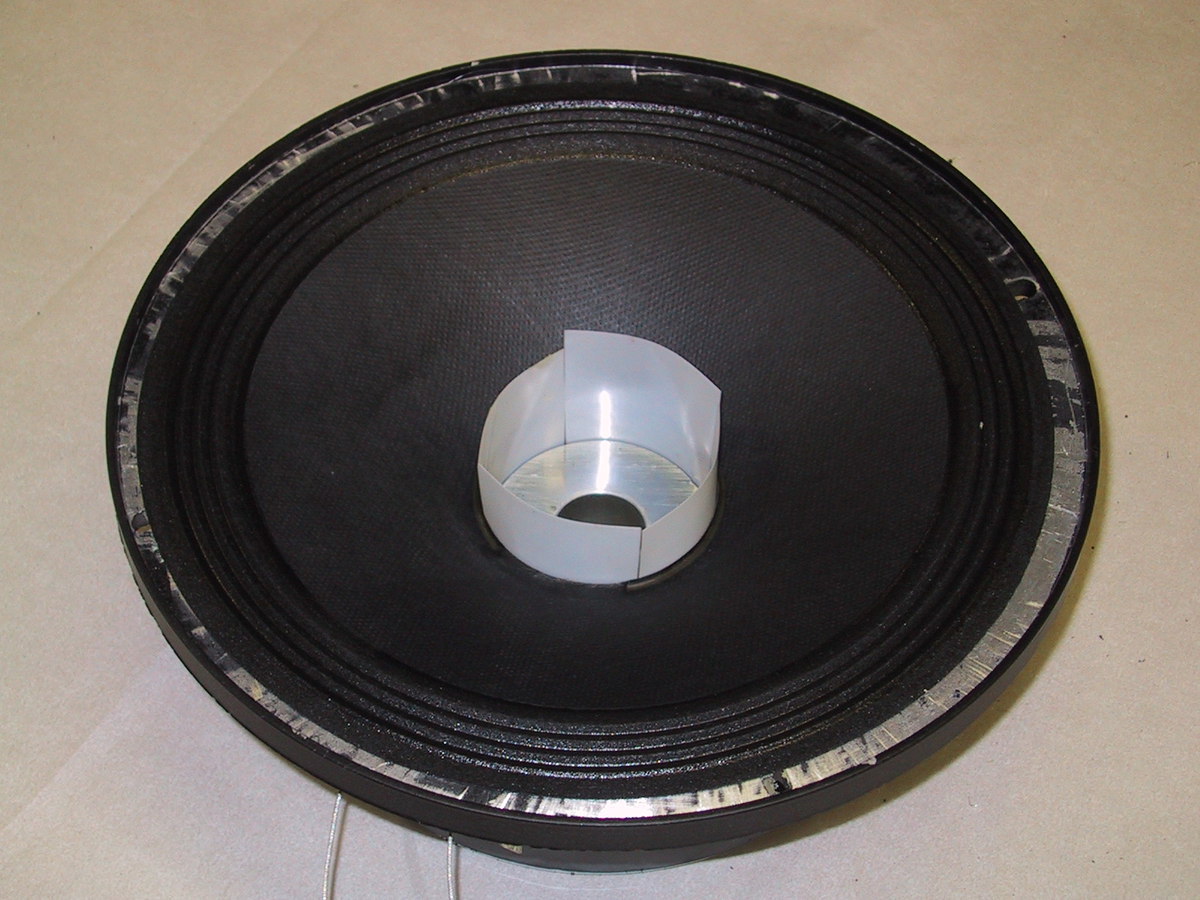
Insert the plastic shims through the air gap between voice coil and center yoke. Push down on the cone lightly to make sure the glue impregnates both the spider and the surround.
Glue the gaskets in place and line up with the chassis holes. You can use the same glue as above or a vinyl type.
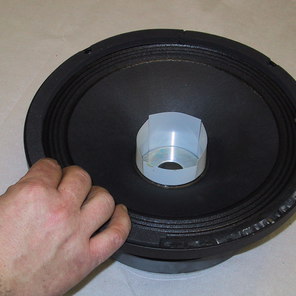
Turn the unit face down and let the glue cure for 24 hours.
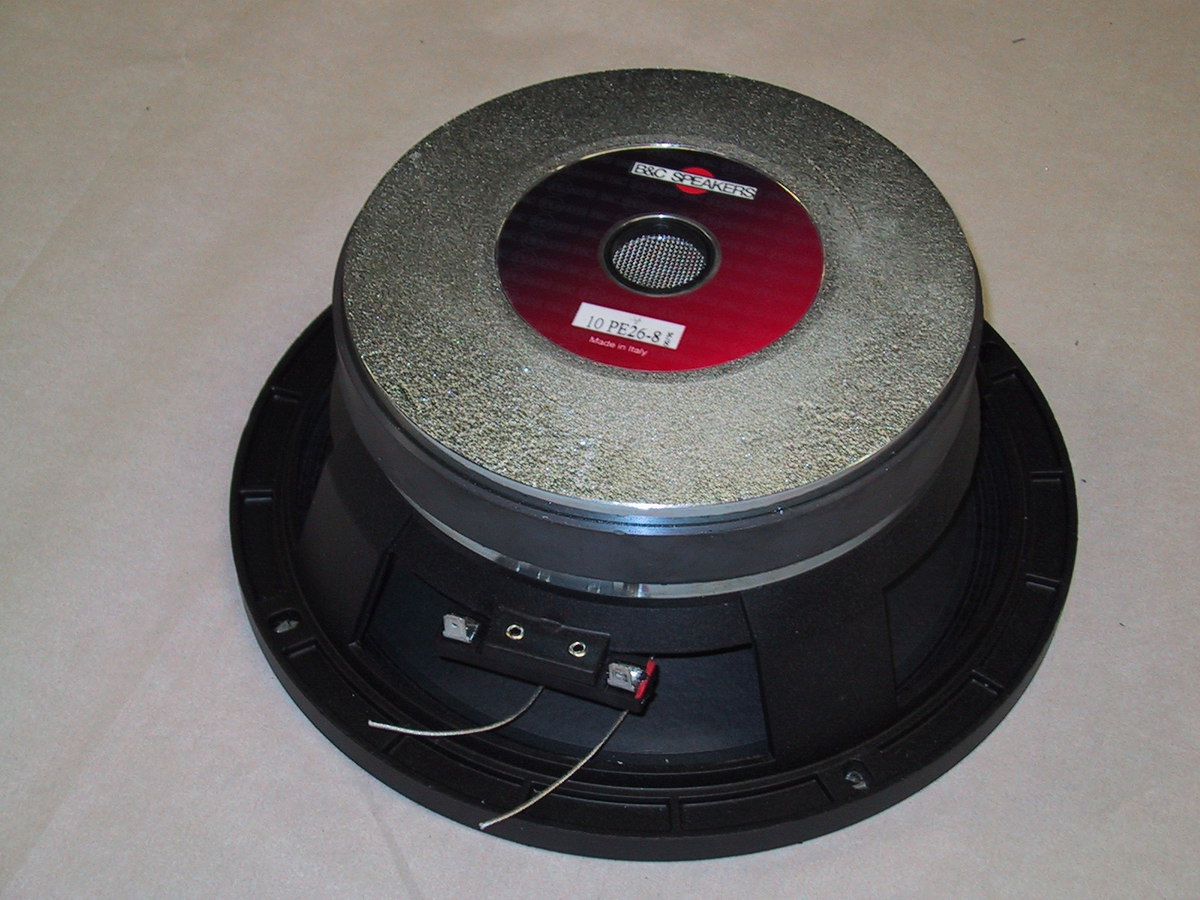
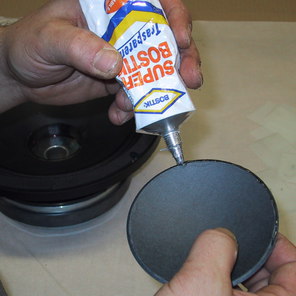
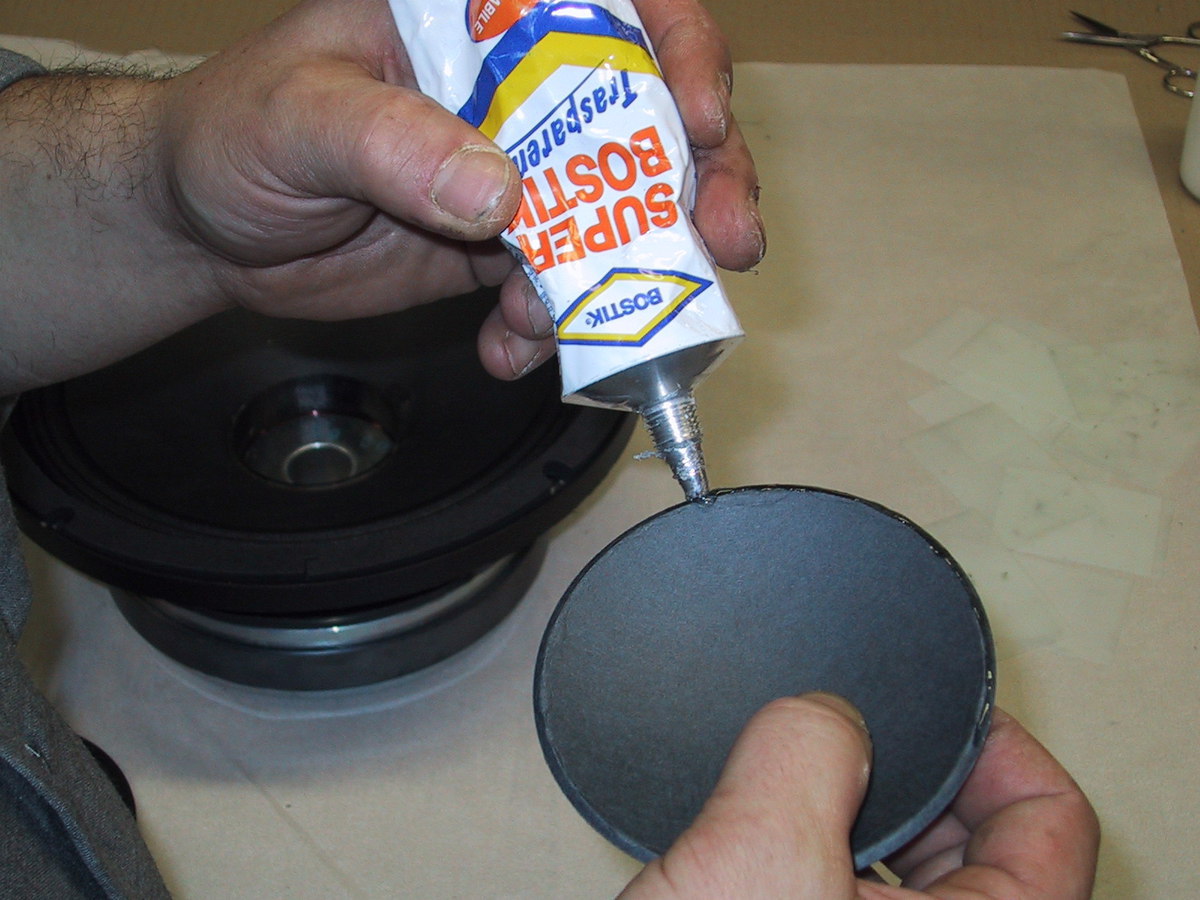
Remove the plastic shims, glue the dust cap in place and solder the lead wires to terminals.
ATTENTION: Some recone kits include a small bottle containing the waterproof treatment. Apply a coat of the treatment over the cone and the dome with a brush, then wait for the complete drying. Please note that the cone suspension should not be treated.